Importing/Referencing DLLs in Visual Studio
A couple of people have got stuck on various lists/forums I’m on moving from ASP to ASP.Net and the differences there are, the one first major sticking point I had was referencing DLLs –so don’t worry you’re not the only one! So this is a really simple look at what you need to look at and how you reference DLLs –if you’ve ever added a DLL before you’ll probably find that this is too simplistic for you but read on anyway!
Firstly, referencing a DLL is basically a way of including someone else’s code within your project (or a common codebase that you re-use), this also includes controls, useful/common functions or just additional functionality such as Crystal reports.
Before you can use someone else’s code (i.e. Phil Whinstanley’s error reporting class) within your code you have to include a reference to the relevant DLL. The first thing I would do is create a folder somewhere that’s easily accessible to all machines that may need to reference the DLL i.e. “c:\Useful DLLs\”. Then, within this folder, I would create the following sub folders:
- c:\Useful DLLs\.Net 1.1
- c:\Useful DLLs\.Net 2.0
- c:\Useful DLLs\.Net 3.0
- c:\Useful DLLs\ASP.Net 1.1
- c:\Useful DLLs\ASP.Net 2.0
- c:\Useful DLLs\ASP.Net 3.0
This is something that I’ve only recently started doing after having multiple releases for the same DLL. For each DLL place a copy within the relevant folder.
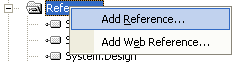
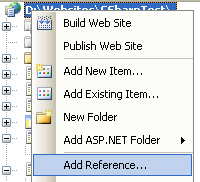
Next, load your project within Visual Studio, right click the solution (this is the very top of the tree) and select “Add Reference":
A window will then popup that looks something like this:
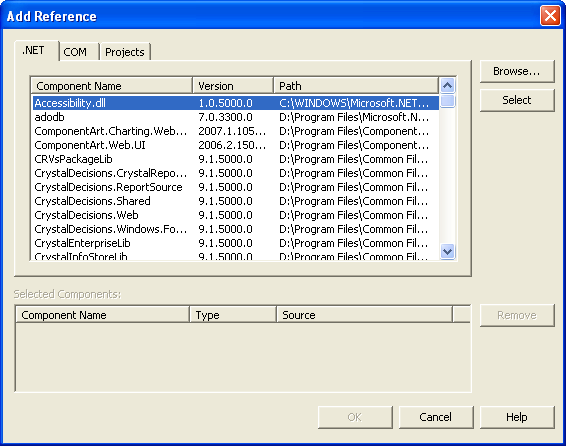
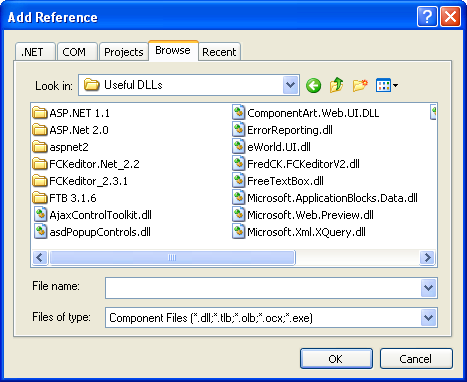
Depending on what sort of reference this is, the majority of the time I would expect you’ll be needing to use the “Browse” tab –this allows you to navigate the FSO and find the DLL to reference (which should be somewhere in c:\useful dlls\). Once you’ve found it select the DLL and click Add.
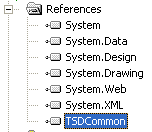
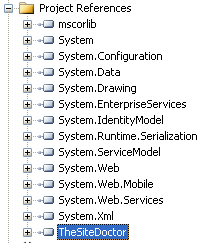
Your DLL is now referenced and you should be able to start using it straight away. Depending on what you need to do with it you’ll also need to add Page and/or Codebehind imports. To check that it has imported correctly, in Visual Studio 2003 you should be able to see it in the references folder or in Visual Studio 2005 you will need to click into the "Class View" tab of the Solution explorer:
How do I identify the namespace?
I had someone ask me a while ago why the his code was throwing a compilation error, it turned out that although he had named the DLL MyDLL, the namespaces within the DLL he wanted to reference was MyNamesapce so how can you identify the namespace?
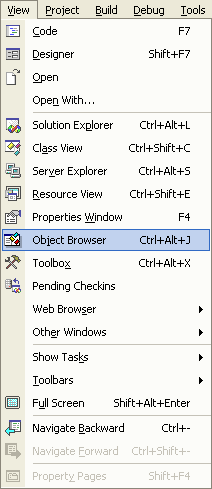
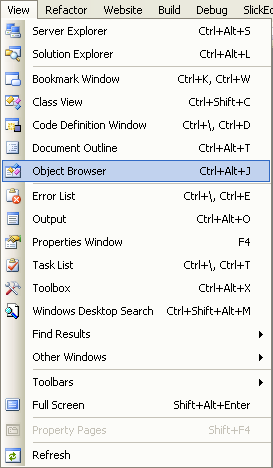
The easiest way to do this is to use something called the Object Explorer, this should list all the referenced DLLs for a given project and allow you to navigate the namespaces, classes and objects within the class. To open the Object Explorer click on the View menu and then “Object Explorer” within the “Windows” menu. Navigating the DLL is easy, you can either search through it using the search box at the top or alternatively navigate using the object tree.
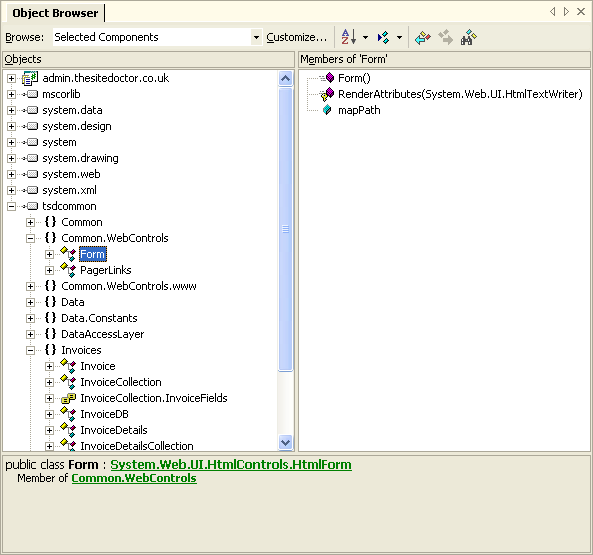
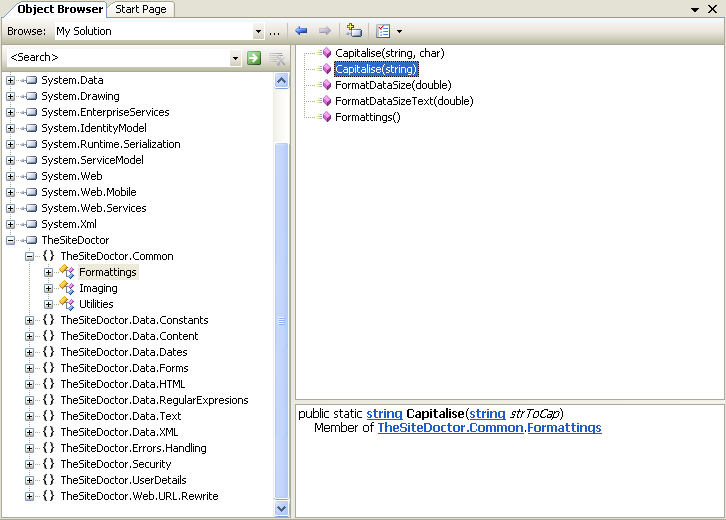
The best way to work out what declaration you need to add is to locate the object, method or control you plan on using either using the tree navigation or searching, then selecting it. Once selected you will notice the bottom pane of the Object Explorer will change and the namespace will be listed, this is what you need to add as your reference. If you need to enter the assembly name, you can identify this easily as it’s the name given to the top node of the tree –this should have a little grey icon next to it.
If the DLL is adding a control to the page
You’ll need to reference the namespace at the top of the page like this:
You can use whatever prefix you like for the control, I tend to keep it between 2 and 4 characters in length for ease i.e. “TSD” but that’s up-to-you. Adding the control is done in the same way you add the standard controls:
You’re all set :)
If however this is a control set that you plan on re-using throughout the application I would opt to add a reference within the web.config, this means you don’t need to repeatidly add the reference for each page. To do this you’ll need to add the following to your web.config file:
If the DLL is adding functionality to the codebehind or you want to use the control within the codebehind
If you want to use the control or add the control to the page dynamically you will need to include a reference to the namespace within the codebehind –in the same way you do the System namespaces. This is really simple, at the top of the page you should see a few “using” statements or in VB “Imports”, you’ll just need to add the referenced DLLs namespace below (or above –or- in the middle!) of these others, as long as it’s with the other statements you’ll be fine. You can then reference the various methods and properties of the control.

 {
{ protected void btnAddEntry_Click(object sender, EventArgs e)
 { int cat = radCategories.CategoryId; //Do something with it here...
 }}
}}I hope that helps you getting started with this new way of importing common code, it’s fairly intuitive once you’ve done it once or twice, but those first few “Could not find xyz –Are you missing an Assembly or Reference” messages do drive you nuts ;)
Liked this post? Got a suggestion? Leave a comment